For the past several years, I’ve brought lunch to work in a cup, glass, Yeti, or another form of cylindrical, upright container. And I’ve often answered for it.
Curious people wonder:
Why? What’s in that? Why does it look that way? Does it taste as bad as it looks? What recipes do you use?
The short answers:
Health and nutrition. All kinds of things. Ingredients determine color and liquid determines texture. No, it’s usually great. None.
The longer answer:
In the spirit of one of my favorite content marketing tips*, I’ve addressed these questions with this Blender how to – a quick guide to better breakfasts and lunches.
*Aside: In your videos, emails, blog posts, and other channels, answer the frequently asked questions you’re getting. If some people have the question, others do, too – you can be the source for the information. And you can potentially save time by segmenting these FAQs and answers by types of people who ask or trigger points for asking and preemptively sending the answers before they’re even asked.
Blender How To: What You Need
Handheld slow motion video of the blender in action.
Before you get to the actual blend, of course, you must be prepared.
As mentioned above, I never use a recipe, but I try to keep basic ingredients on hand.
Among them …
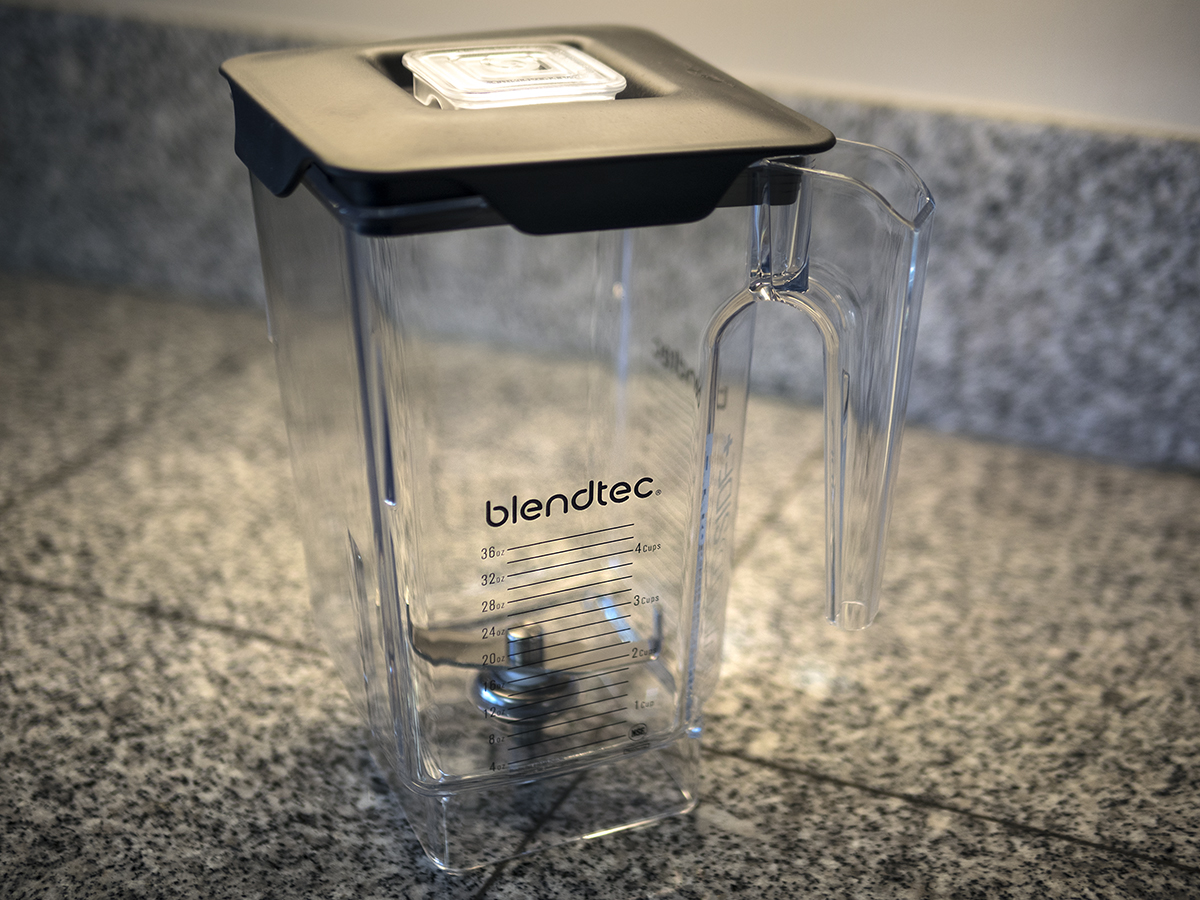
Blender
This one seems obvious – and it is. My only tip here is to spend some money. If you want both volume and power (trust me, you do), you’ve got to spend a few hundred dollars. When you make that commitment, you give yourself a device that’s up to the challenge and, as you’ll see, provides a bit of efficiency through its ability to deliver several servings in one blend.
You might be able to get away with one of the less expensive models, but you’re making a compromise that may not be worth the savings (like flying Allegiant or Spirit Airlines).
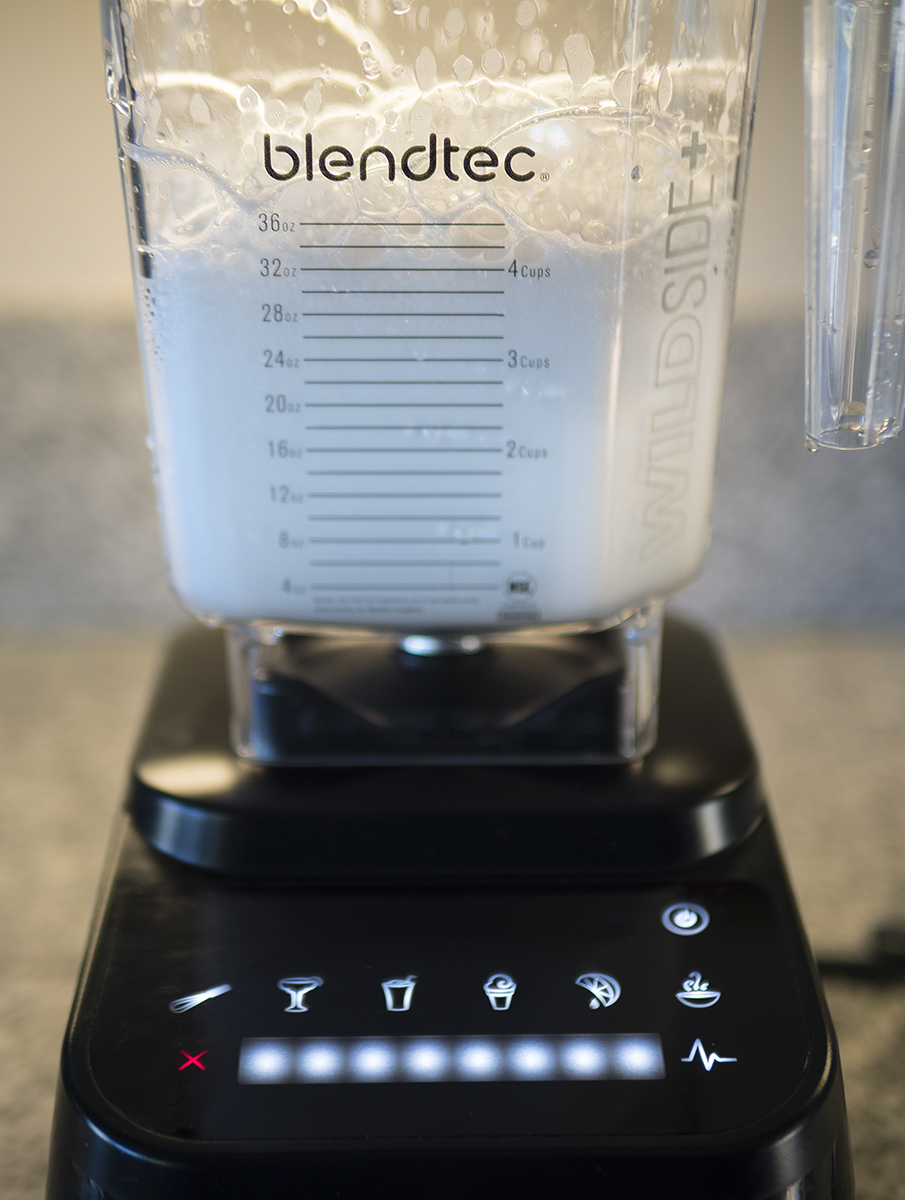
I have the Blendtec Designer Series. We bought it at Bed Bath and Beyond with one of those 20% off coupons that show up in the mail. Vitamix seems to be the leading alternative here, but they infringed two of Blendtec’s patents. Ninja’s cheaper than both, but it looks and feels like it.
Fresh Vegetables
Leafy greens are the leading ingredient of a blender breakfast or lunch. Spinach, kale, and chard all work well; I often buy them in a “power greens” combo. And you can never go wrong with plain spinach. I always buy fresh and organic – it’s easy to do at Costco or even Safeway (your standard grocery store).
The only other veggies that have worked for me are broccoli and cauliflower. I break them down by hand, removing large stems and dropping in florets. I’ve picked up a giant bag of frozen broccoli, but I prefer fresh here, too.
Fresh Fruits
Blackberries, blueberries, strawberries, grapes, bananas, apples, kiwi, oranges, clementines, pears, avocados. I’ve never added fresh fruit to a blender breakfast or lunch and thought “I wish I didn’t throw that in there.” If you like a fruit, throw it in.
The Costco produce section gives you many, many options – both conventional and organic.
Frozen Fruits
Your consideration here is single fruit or fruit blend. To create variety, I usually keep one bag of each on hand.
Again, Costco’s the joint. They offer a “triple berry” blend (strawberry, blackberry, blueberry), a “daybreak” blend (peach, mango, strawberry, pineapple), and others. They also offer large bags of single fruits (cherries, blueberries, mangoes, pineapple, etc).
And, again, you can’t go wrong with any of them. If you like it, throw it in.
If they’re especially big pieces, I’ll thaw them a bit by running them under water briefly. Otherwise, your blender’s chewing on a rock. A good one can handle it, but why force the issue?
Add Ons
In addition to fresh and frozen fruits and vegetables, I blend in a variety of add-on ingredients.
Here are some that I use:
- MacroLife Naturals Macro Greens Superfood
- Vega Organic Proteins and Greens
- Nutiva Hempseed
- Nutiva Chia Seed
- Ancient Nutrition Bone Broth Protein
- Barlean’s Master Blend Total Omega 3-6-9
- Flora Udo’s Choice Udo’s Oil 3-6-9 Blend
- Kirkland Organic Virgin Coconut Oil
- American Health Probiotic Acidophilus
I get these at Costco, Natural Grocers, and Amazon. I expect that variations of these oils, powders, and other accoutrements could be picked up at any natural foods store.
The only thing I’ve ever added that I’ll never add again is apple cider vinegar. Even a tiny amount ruined the entire blend. I drank it anyway, but I’ll never do it again.
Liquids
The final step, as you’ll see below, is liquid. Water is the obvious choice here and is always the leading liquid by volume. I went with coconut water for a while, but dropped it for cost savings – and you can get potassium elsewhere.
If we have something else on hand, I might use a splash of it – apple cider, orange juice, pomegranate juice, or similar.
BONUS
To help you consider which ingredients to buy organic, click here for a list of the “Dirty Dozen” (most and least contaminated fruits and veggies).
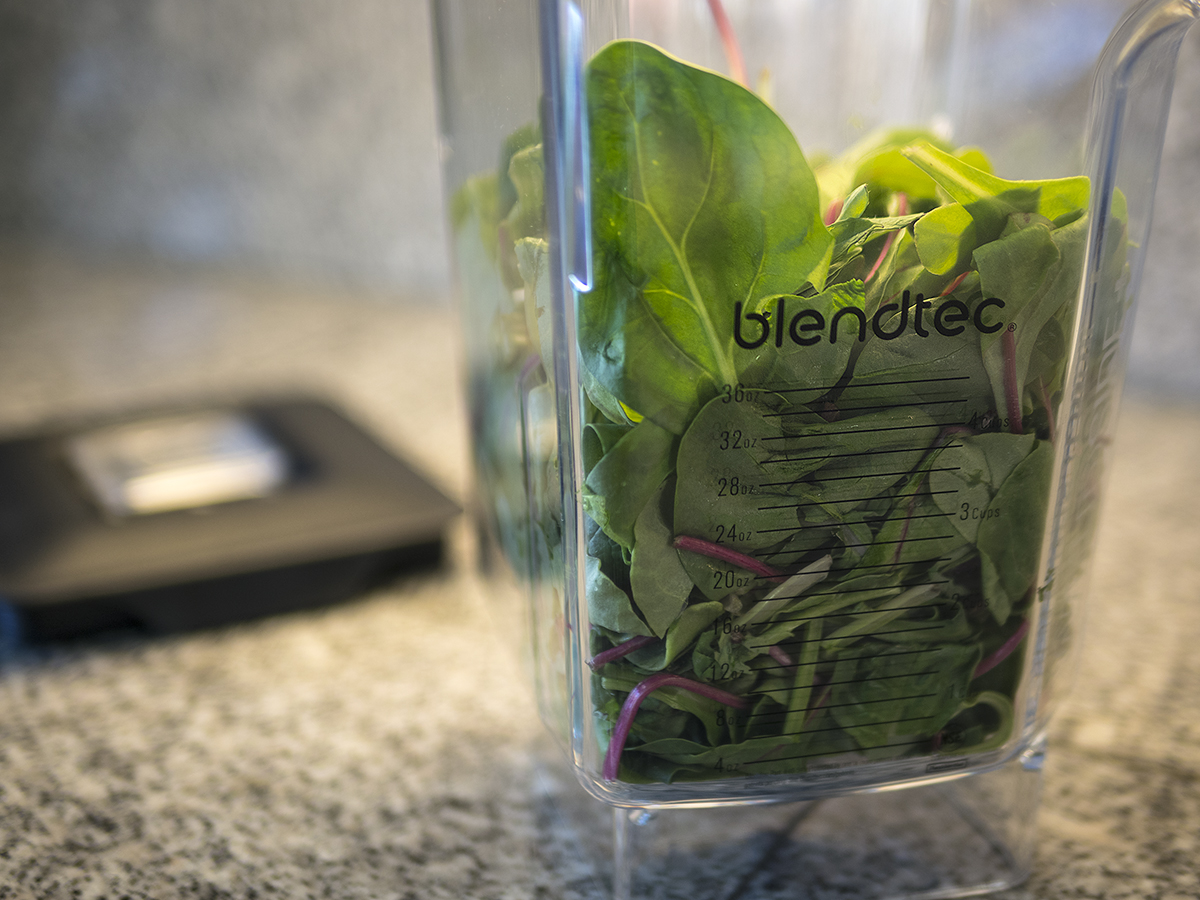
Blender How To: Leafy Greens and Fresh Vegetables First
Start with the empty blender jar.
Fill half to two-thirds of the jar with leafy greens and any other fresh veggies you want to throw in.
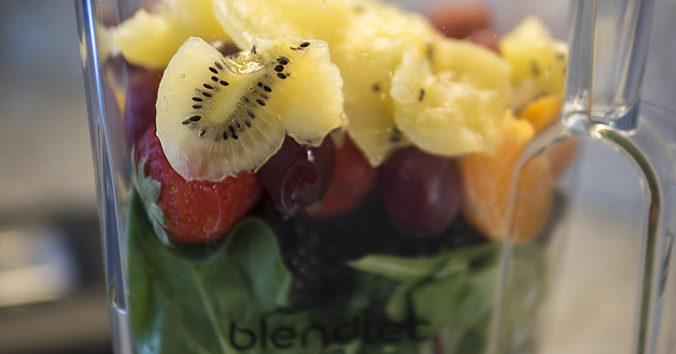
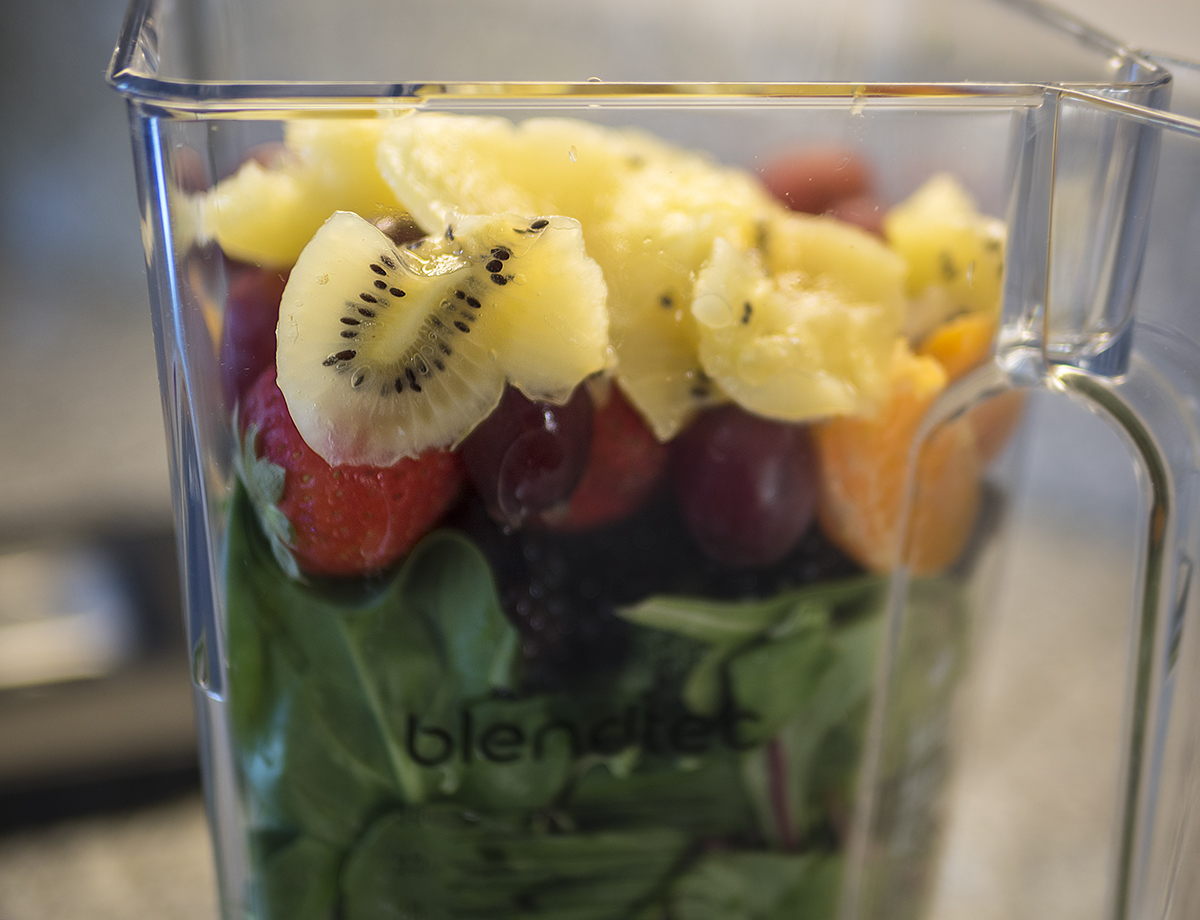
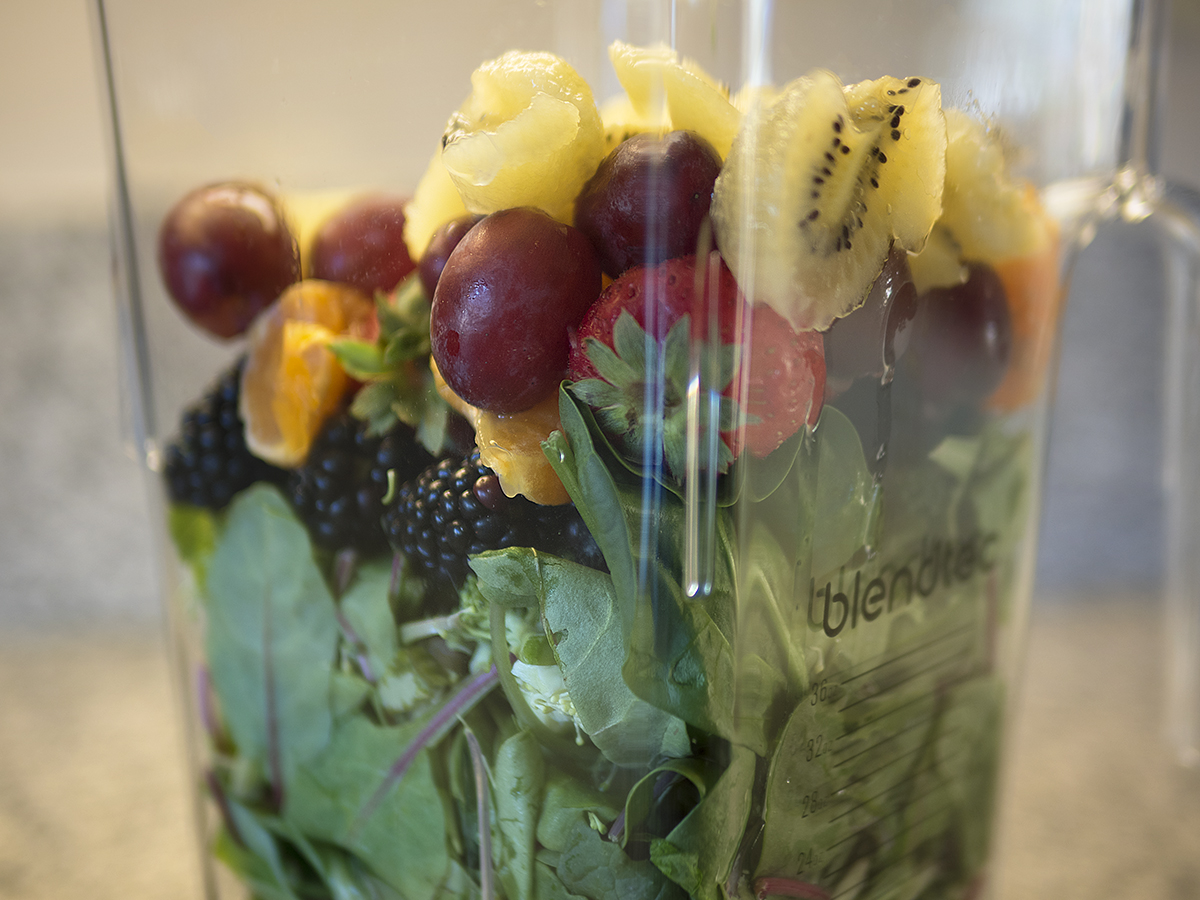
Blender How To: Fresh Fruits Next
Layer in any fresh fruits you want to include. Notice that strawberries and blackberries are thrown in whole, but grapes are destemmed, oranges are peeled, and kiwi is peeled.
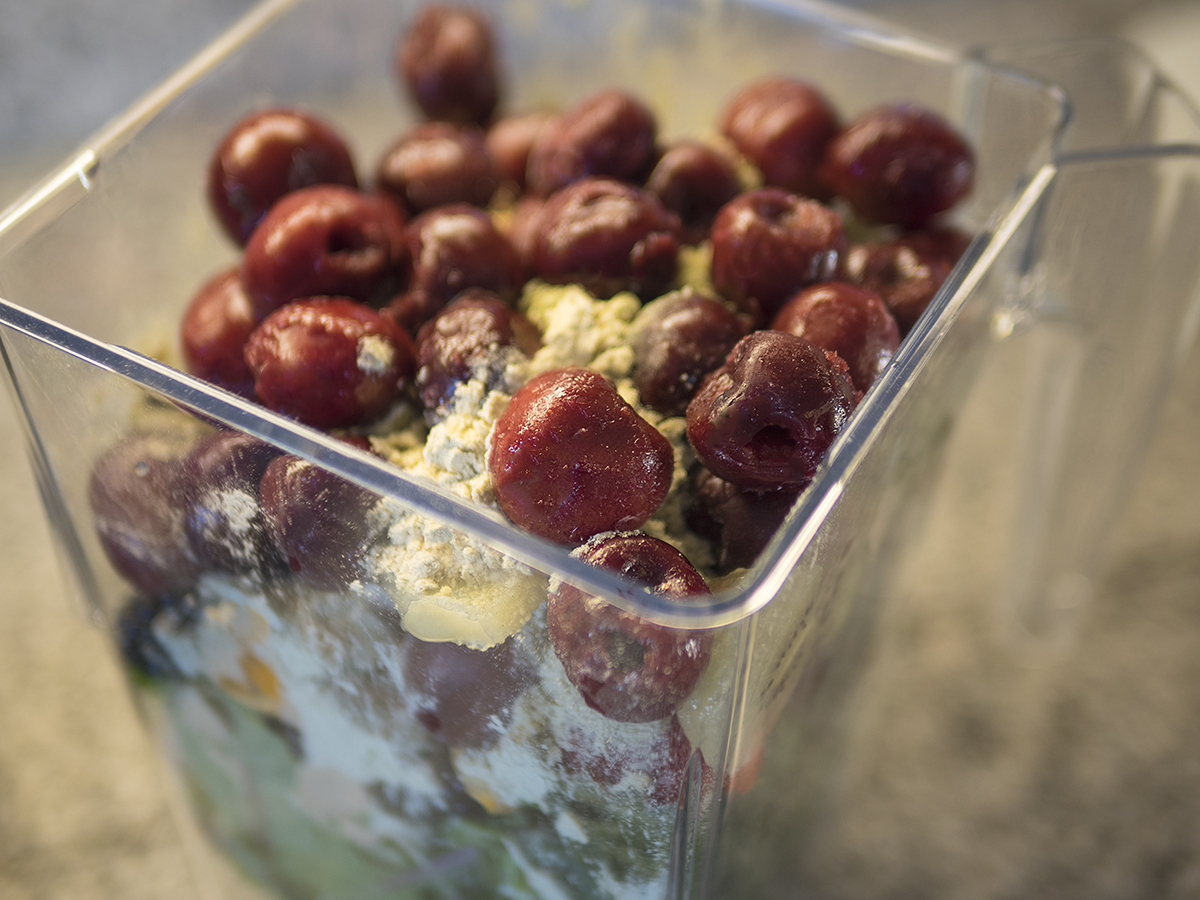
Blender How To: Add-Ons and Frozen Fruits on Top
Frozen fruits belong on top. Any add-ons can go between the fresh and frozen fruit.
Note: if you’re using frozen vegetables, they should also go on top.
Blender How To: Liquids Last
I don’t measure the water. I just pour it in. Once you’ve done a few blender breakfasts, you’ll get a feel for how much liquid is right for you.
Obviously, more liquid thins it out and less keeps it thicker.
Related: if you’ve got a lot of frozen fruit and/or frozen vegetables as the top layer, your liquid should go in as a straight pour. If you pour in a circle or back and forth, you’ll lock the frozen materials together and increase the likelihood of having to break it up mid-blend so that it can fall to the blades.
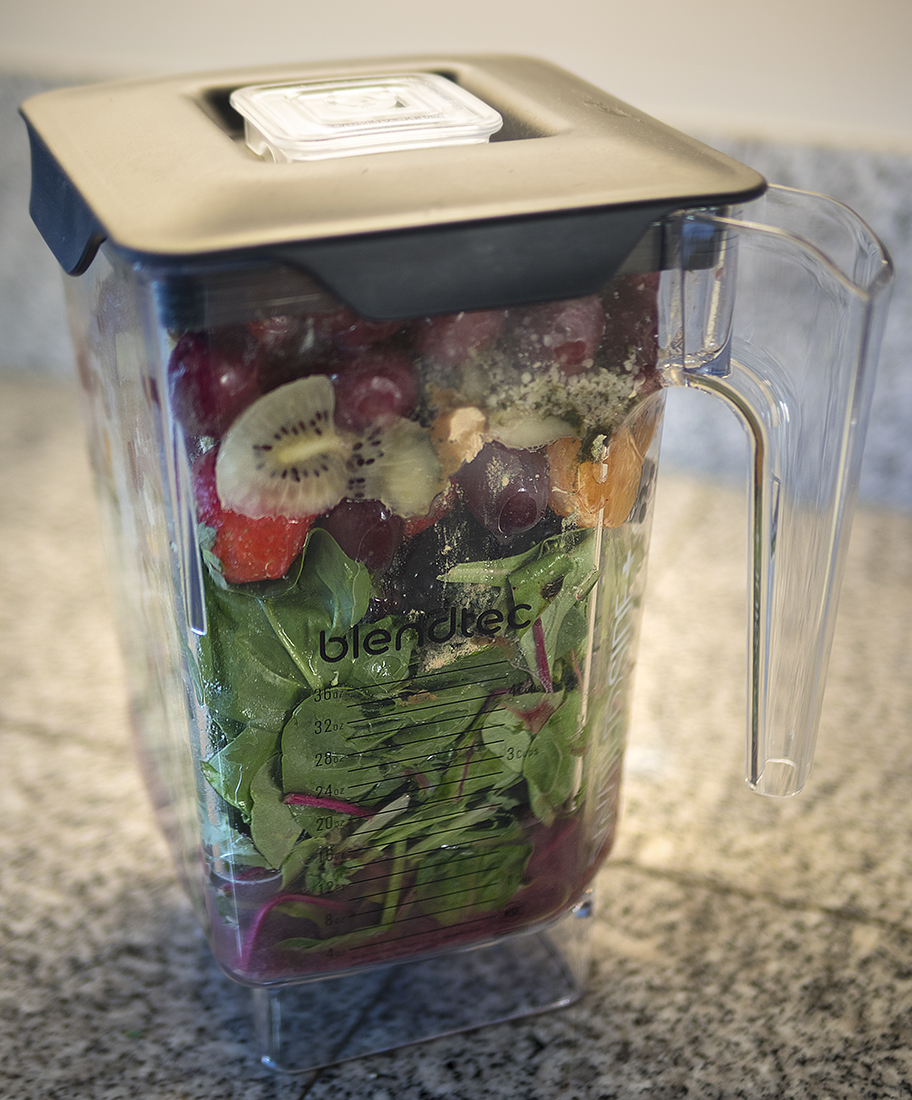
Blender How To: Ready to Blend
Put the jar atop the blender and make sure the lid is sealed.
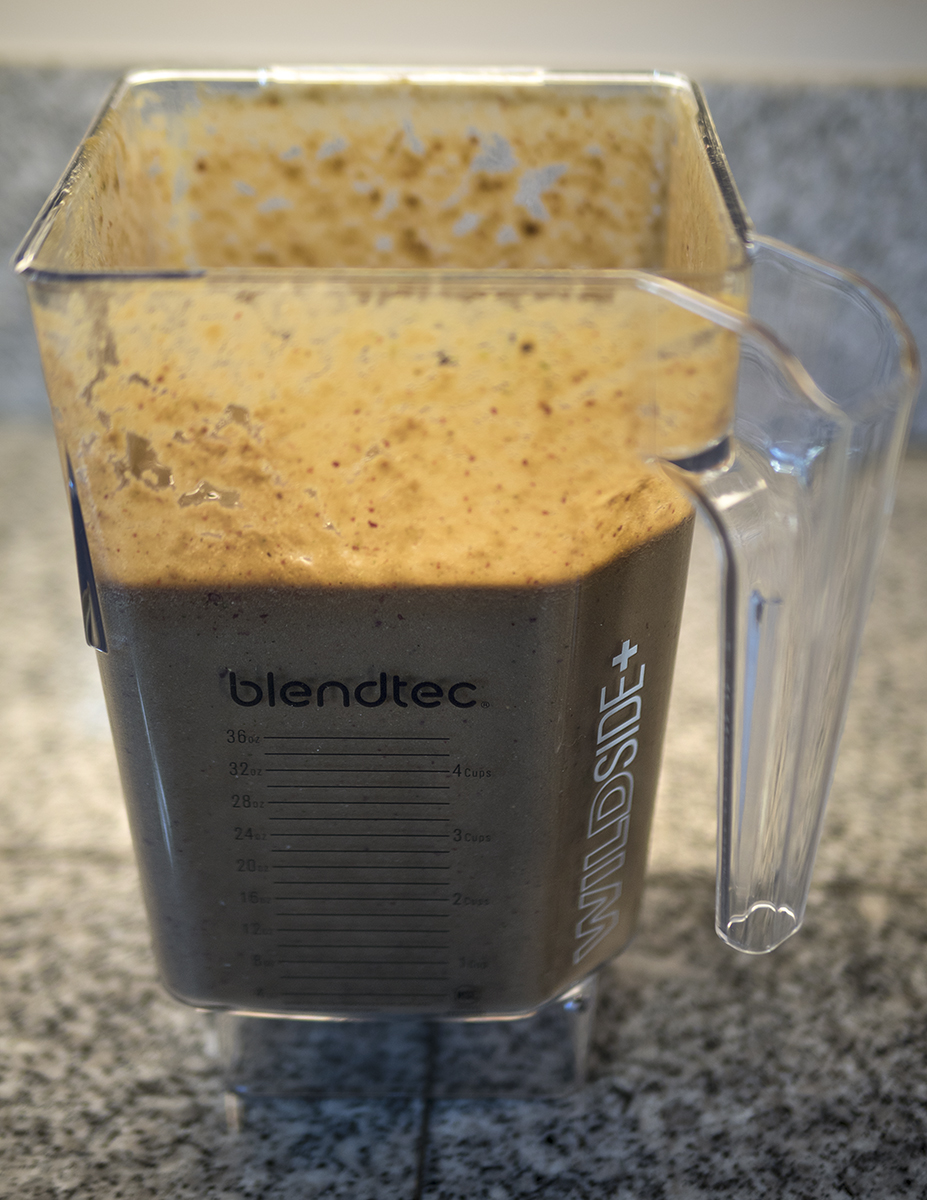
My Blendtec has a “juice” option, so I use that setting. It moves through three or four speeds in a 50-second session.
Before the blend.

After the blend.
Blender How To: Storage and Clean Up
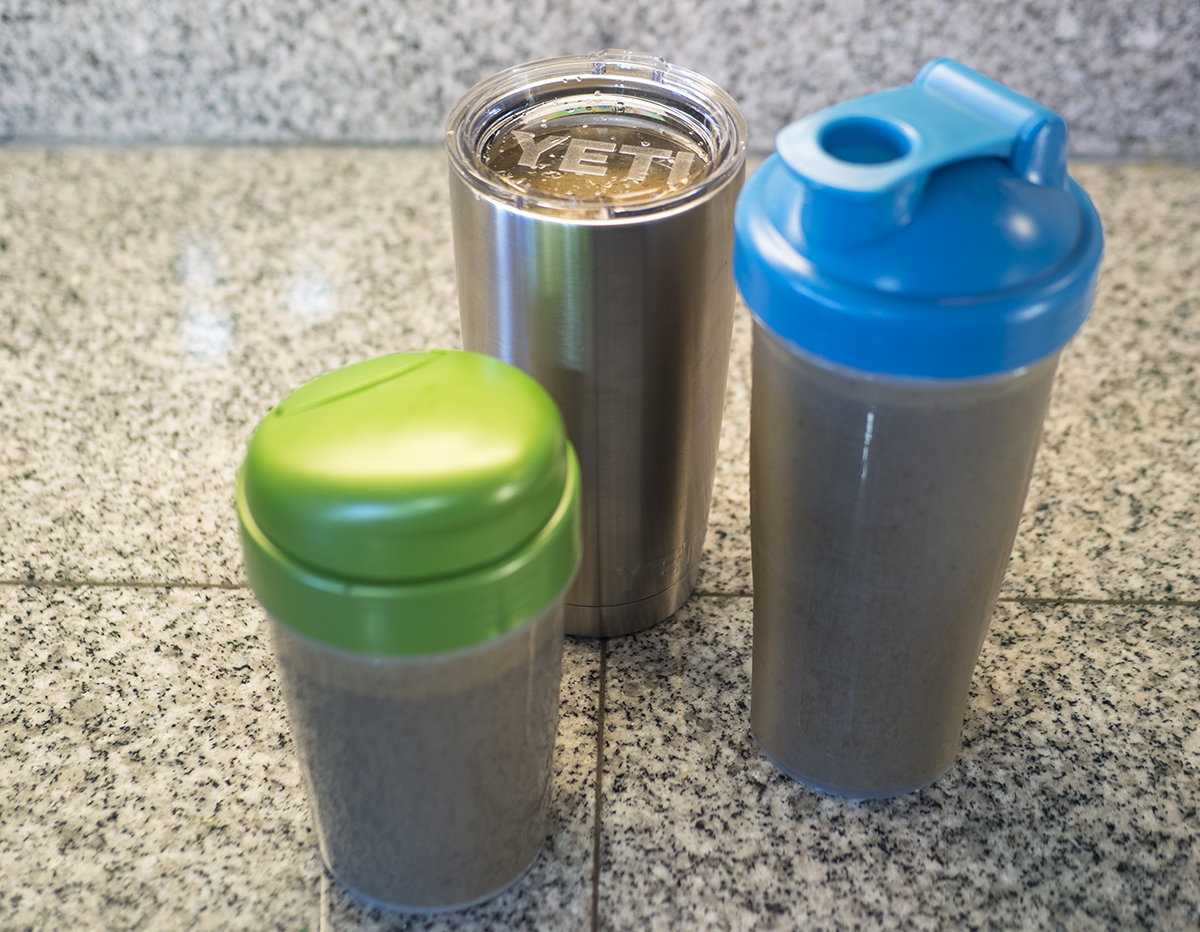
As mentioned above, running a full jar produces more than one serving. Here, I’ve stored three, but I typically consume one on the spot and save one or two more. I always consume them within 48 hours, but I have no idea what the safe window is. I expect it’s longer, especially because they always stay refrigerated.
The bottles with the blue and green tops were acquired as giveaways with some add-on powders at Natural Grocers.
After pouring your blended breakfast and/or lunch, rinse the jar. From there, I follow Blendtec’s recommendation to add a drop of liquid soap and some water, then run the “pulse” setting three times for about five or six seconds each time. Then, a final rinse.
Blender How To: Final Notes
> Don’t worry about color. The ingredients chosen dictate the color. Cherries and dark fruits will pull it toward brown. Loads of greens with lighter fruits like pineapple and mango will keep it a pale green.
> What about dairy? I tend not to add yogurt to minimize sugar. I never add milk. These are personal choices. Both would work just fine for you, as would an almond, soy, hemp, rice, or other milk.
> It’s the right thing. Especially because they’re so variable in ingredients, I’ve not bothered to assess the exact nutritional value or the per serving cost. It seems to be the right thing to do, so I do it.
> There are no rules. As written above, I don’t use recipes. This process creates nice variety and helps assure that all the fresh fruits we buy get put to use before they go bad. I’ve blended two or three bananas into one drink just because they were on the far edge of ripeness.
What Questions Do You Have or What Have You Learned?
Have your own blender best practices?
Thinking about getting going, but still hung up somewhere?
Drop a comment below with your own questions or learnings.